Virtway Tutorials & Knowledge Base

Guided support and clear instructions to maximize your use of the Virtway Metaverse

immersive website in the metaverse

User Basics

Creating Your Avatar

customize virtway avatar

Virtway uses Ready Player Me avatars. If you already have one, you can link it to your Virtway account if you are a registered user in the Virtway platform.

Moving Around Your Scenes

User Basics_Moving

You can use the AWSD to move around, you can click and hold to rotate your point of view, or you can use the arrows on your keyboard.

Microphone, Audio & Webcam

User Basics_audio and webcam

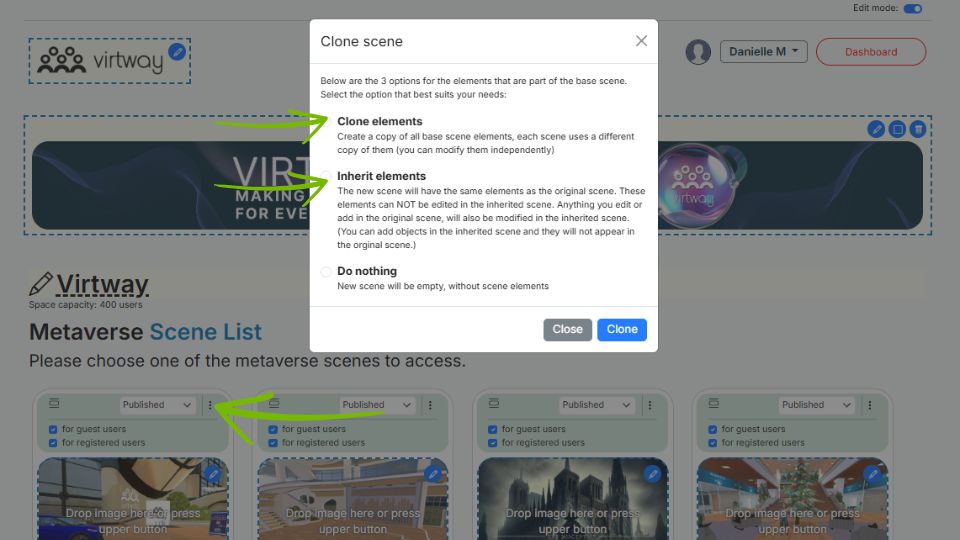
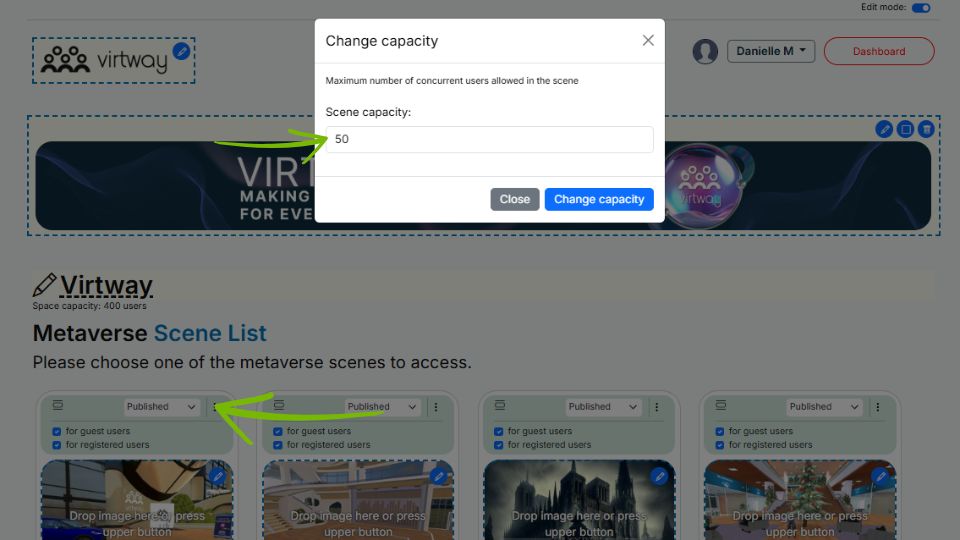
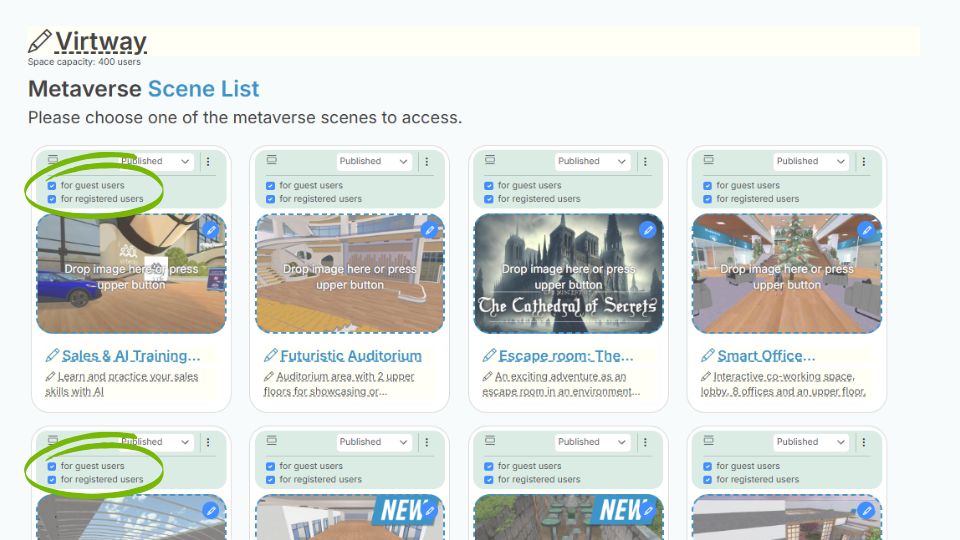
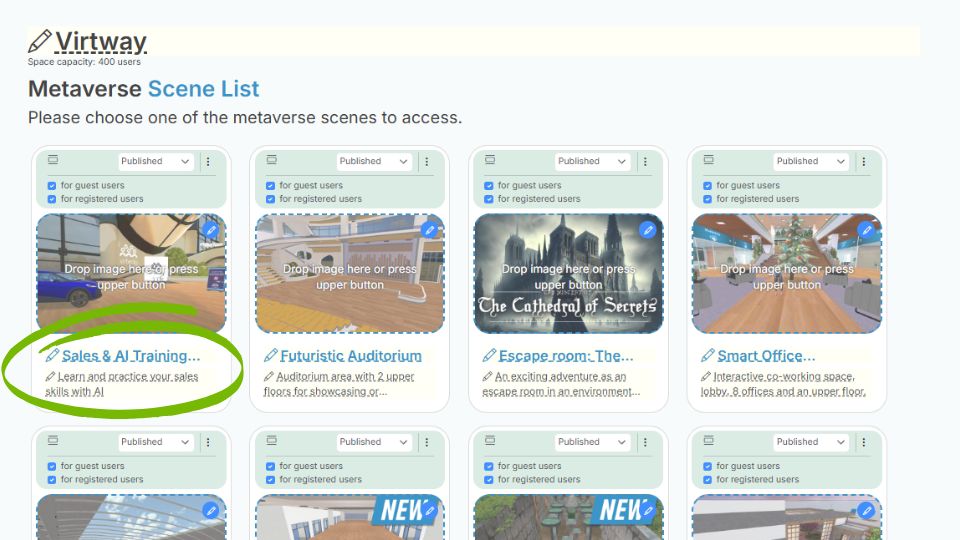
By default, the audio is 3D spatial in the scenes. If you are very far away from another user, they likely won’t hear what we’re saying, but as you get closer, you will hear each other louder, just like in real life.  

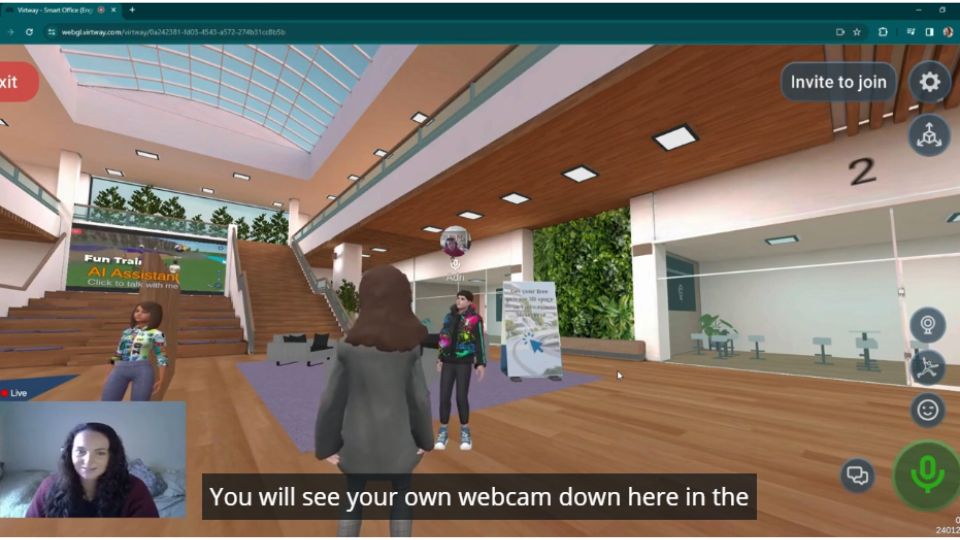
To activate your microphone, click the big round button in the bottom right. Once this is on, it will turn green, so you’ll know that your microphone is activated. 

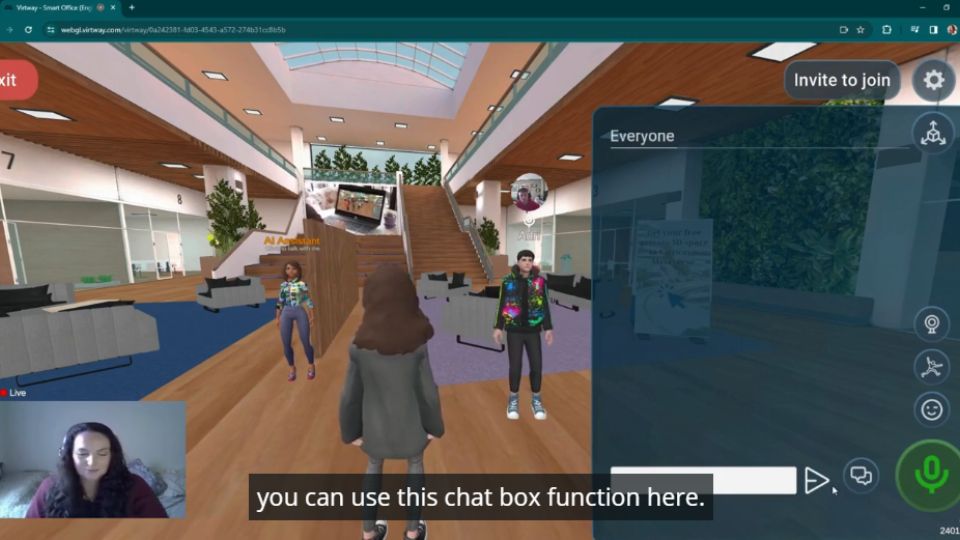
You can also see when the other users have their microphone activated. There will be a mic symbol above their avatar’s name. Should you have your microphone disconnected or connected to a different source, you can click the settings in the top right and choose the microphone source that you want. This also is good for choosing the correct webcam. 

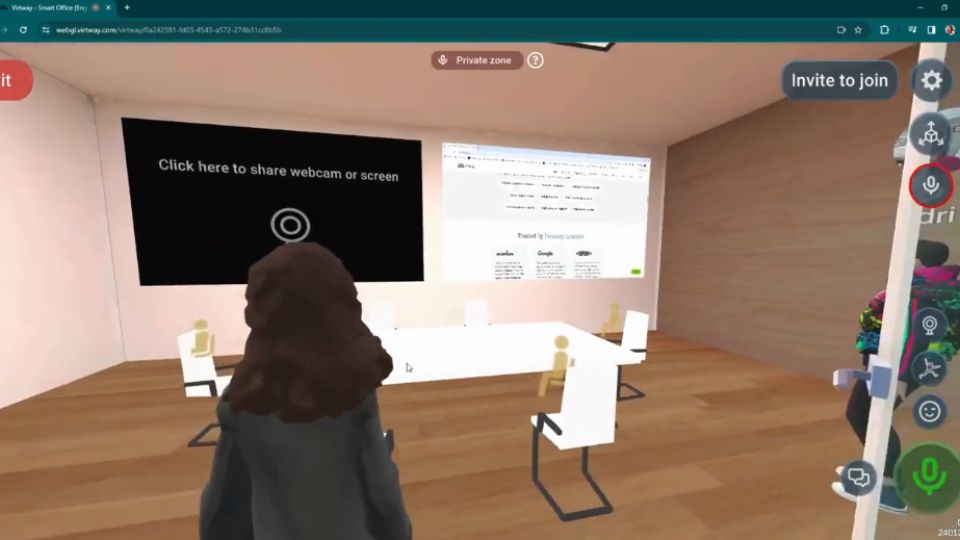
To activate your webcam, in the right-hand side here you have the camera icon. Simply click and then click share webcam. You will see your own webcam down here in the bottom left, but the other users will see it above your avatar’s head. 

Avatar Animations & Emojis

User Basics_avatar animations and emojis

Use the avatar animations to wave hello, dance a bit, or throw some confetti! You also have lots of different emojis that you can send up to interact with the other users.

Using the
Chatbox

User Basics_chatbox

There is a chat box in the bottom right, to the left of the microphone button. This chat is shared with everyone that’s in the same room.

Screens &
Private Zones

To begin screen sharing within a meeting room, users have two straightforward options: share their webcam or broadcast their desktop. This functionality allows participants to present content in real time, whether it’s documents, slides, or live applications. Once inside a meeting room, users can simply select the appropriate icon to start sharing. Seating is just as intuitive—clicking on a chair icon will place the user into that seat, enabling them to collaborate, access digital whiteboards, and work together efficiently.

Private scenes are designed to ensure complete confidentiality. When a user enters a private meeting room, a notification appears at the top center of the screen confirming they’ve entered a private zone. Any audio or content shared inside this space becomes inaccessible to users outside, even if they are standing just beyond the door. This guarantees that conversations and screen shares remain secure. For added flexibility, participants can use the “invite to join” button to generate a direct link, which can be shared with specific individuals, allowing them to bypass the scene list and enter the meeting directly.

Speaking with
AI Agents

Virtway User Basics_AI Agents

Edit Mode & World Name

Edit Mode

To edit the name of your private world, simply click on what is there and confirm the changes

Add Your Logo & Banner

The logo and top image can be updated by clicking on them and selecting the desired files. The logo area supports images resized to a height of 40 pixels, while the banner space adjusts images to a width of 1280 pixels.

Change the Scene Status

Edit Mode_Scene Status

Using the selector, you can set the scene mode to: 

  • Published: Visible and accessible to everyone.
  • Unpublished: Not visible but accessible via direct link.
  • Closed: Neither visible nor accessible.
  • Coming Soon: Visible but only accessible through a direct link.

Clone & Inherit
Scenes

If you choose the clone scene option a new popup appears where you can select the copy mode. 

  • Clone elements: You will create an exact copy of the empty original scene and a copy of all base elements added with editor (POIs, atrezzos, portals, etc.). Each scene (original and new one) will have independent elements and you can modify them separately in each of the cloned scenes. 
    The only exception will be for NPCs as they will not create a new character but will share the same character (appearance, name, description and information) with parent scene 
  • Inherit elements: You will get a copy of the original scene with the same elements that you may have added to customize. BUT these elements can NOT be edited or removed in the new scene copy. Anything you edit or add in the original scene will also be modified in the new inherited scene…Additionally, you can add new objects in the inherited scene and they will not appear in the original scene. 
  • Do nothing: You will get a copy of the empty original scene without any additional elements. You can add new objects in this scene, and they will not appear in the original scene.  

Change Capacity of Scenes

Edit Mode_Scene Capacity

Change capacity option allows you to adjust the scene’s maximum capacity. This number may not exceed the maximum capacity of the whole world 

Guest/Registered User Access

There are two types of user access settings: 

Guest Access: If “Enable” is checked, guest users can access the scene without needing to create an account or log in. They simply enter a nickname to join. This is ideal for easy, quick access but does not collect any user data or provide security tracking. 

Registered User Access: If “Enable” is checked, users have the option to register. This will also allow them to connect their Ready Player Me avatar to their account and have it available each time they log in. If this is enabled and Guest Access is not, only registered users can access the scene. Registered users must either create an account or log in, making it easier for companies or communities to re-contact users or ensure security control. For businesses that prioritize user data collection or need security measures, disabling guest access and requiring registration is recommended. 

Scene Name & Description

Edit Mode_Scene name and description

You can also edit the name and description of each scene by simply clicking on the text fields and making changes. 

Replace Image Thumbnail

You can also change the scene’s thumbnail image by clicking on it and selecting a new one. It should be an image with 4 : 3 aspect ratio

Reorder Scenes in the Scene List

You can customize the order of scenes by simply dragging and dropping them into your preferred sequence. These actions are automatically saved and will be reflected when you toggle off edit mode.

Getting Started

This tool lets you add and manages objects in your scenes. To start using it, simply click the editor button to switch to “edit” mode. Once you’re in edit mode, the screen will update, and you’ll see a new control bar with icons at the bottom. From here, you can add a new object by clicking the “+” button. 


Edit Existing Objects

You can edit an existing object by clicking on it. When you do, coordinate axes will appear on the object, showing its center position and the direction of each axis. You’ll also see the values for the X, Y, and Z coordinates displayed at the bottom of the screen. 

Moving Objects

Virtway 3D Editor: Moving Objects

By default, the movement tool is active once you have clicked on an object. This allows you to reposition it. To move it, hover your mouse over one of the axes until it turns yellow-orange. Then, click and hold your mouse button while dragging the object along that axis. If you want to move the object on a plane instead, click on the plane symbol in the center of the axis and drag it. Besides using the controls to move an object, you can also adjust its position by directly editing the coordinates in the boxes for each axis.

To make visual editing easier, if an object is partially or completely hidden behind another part of the scene, only its silhouette will be visible. The texture of the hidden part will be temporarily hidden. 

You can also adjust the camera using the mouse and arrow keys to get a better view of the object. 

Rotating & Scaling Objects

Next to the movement icon is the rotation icon. When you activate it, you can rotate the object along any of the three axes. The rotation axes work similarly to the movement axes.   

There’s also the scaling icon. In this mode, you can adjust the size of the object, making it larger or smaller as needed.

Next to the axis buttons, there are two additional buttons for undoing or redoing the last action. 

Multiple Object Selection & Duplicating

You can select multiple objects at once by holding down the Shift key and clicking on each object you want to select. 

You can also duplicate or delete objects by using the corresponding buttons. 

Adding
New Objects

Virtway 3D Editor_Adding New Objects

To add a new object from the object library, click the “+” button and a list of available objects will appear for you to choose from. 

By default, the list will show all available objects, but you can filter them by different characteristics to narrow down your options. 

For example, you can filter for objects whose appearance can be customized using an image file, objects that can be interactive, objects with an interaction icon (like the seated one), or portals that allow teleportation to another scene.

You can also use a category for word searching. 

Troubleshooting & Support